By Ning Yap
 Get the latest version of HTML5 Boilerplate and read about Rails integration here
What is HTML5 Boilerplate?
A template from which one can more easily build a standards-aware website. It is in the words of one of its creators Paul Irish “a good starting template of HTML and CSS and a folder structure that works… Baked into it is years of best practices from front-end development professionals.” Since 2010, it’s been polished and iterated upon by hundreds of developers.
Here’s a quick list of features:
- Cross-browser compatibility (Chrome, Firefox, Safari, Opera, IE)
- Legacy browser support back to IE6
- Includes common JavaScript libraries jquery.min.js and modernizr.js
- Includes common CSS library normalize.min.css
- Google Analytics tracking code snippet
- CSS common helper classes, media queries for responsive design
- Customizable! And open-source!
How popular is it?
A Google search for “boilerplate” yields html5boilerplate.com as the first search result over an actual boiler plate.
 Actual boiler plate used to make boilers
A look at the file/folder structure
    .
    ├── css
    │   ├── main.css
    │   └── normalize.css
    ├── doc
    ├── img
    ├── js
    │   ├── main.js
    │   ├── plugins.js
    │   └── vendor
    │       ├── jquery.min.js
    │       └── modernizr.min.js
    ├── .htaccess
    ├── 404.html
    ├── apple-touch-icon-precomposed.png
    ├── index.html
    ├── humans.txt
    ├── robots.txt
    ├── crossdomain.xml
    └── favicon.ico
The structure is fairly straighforward, CSS files belong in css, documentation belongs in doc, image assets in img, and JavaScript files in js. main.css contains boilerplate styles that can be generated via initializr.com, as well as helper classes and media queries.
.htaccess is the default config file for an Apache web server, humans.txt is for listing team members and technologies used, and robots.txt is for pages that should be hidden from search engines. crossdomain.xml is a template for working with cross-domain requests and favicon.ico and the Apple touch icon should be replaced with your own so the user sees a customized icon when he or she bookmarks the site.
404.html is the default “Not Found” page and index.html the default load page.
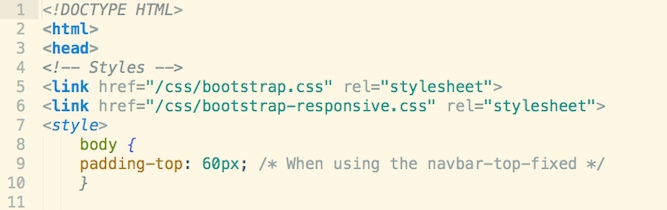
Examining index.html
Hello world! This is HTML5 Boilerplate.
1 2 3 4 5 6 7 8 9 10 11 12 13 14 15 16 17 18 19 20 21 22 23 24 25 26 27 28 29 30 31 32 33 34 35 36 37 38 39 40 41 42 | |
———
We have our simplified HTML5 doctype declaration:
<!DOCTYPE html>
Conditional commenting only evaluat-able by Internet Explorer browsers. This allows for specifying CSS fixes for specific legacy versions of IE. The “.no-js” class can be used to specify custom styles when JavaScript is disabled.
<!--[if lt IE 7]>      <html class="no-js lt-ie9 lt-ie8 lt-ie7"> <![endif]-->
<!--[if IE 7]>         <html class="no-js lt-ie9 lt-ie8"> <![endif]-->
<!--[if IE 8]>         <html class="no-js lt-ie9"> <![endif]-->
<!--[if gt IE 8]><!--> <html class="no-js"> <!--<![endif]-->
Apparently, if the charset isn’t declared within the first 512 bytes of your HTML document, your site is vulnerable to malicious code and hijacking!
<meta charset="utf-8">
Another IE fix to ensure the latest rendering engine version of IE (Internet Exploder) is being used
<meta http-equiv="X-UA-Compatible" content="IE=edge">
If you are NOT coding a responsive site, or site for mobile, take this line out. It’s basically a message to the mobile browser that says, “Render me differently, I’m designed for mobile screens too!”
<meta name="viewport" content="width=device-width, initial-scale=1">
Keep those styles in line with normalize.css! “Normalize.css makes browsers render all elements more consistently and in line with modern standards. It precisely targets only the styles that need normalizing.” How fascist.
<link rel="stylesheet" href="css/normalize.css">
Why is this script loaded at the top (rather than the bottom) of the page, possibly causing the whole page to hang if your servers are slow? That’s because this JavaScript library, Modernizr, helps older browsers handle HTML5 elements; therefore, it must load before any HTML5-specific code can be read.
<script src="js/vendor/modernizr-2.6.2.min.js"></script>
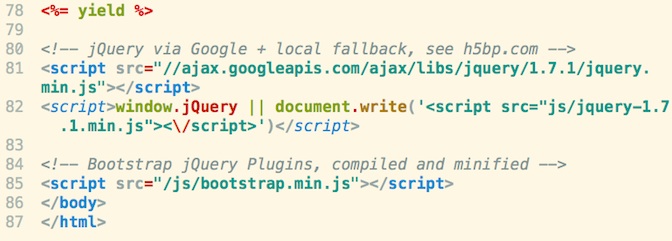
Examining index.html: <body> edition
Kindly inform your site visitor that their choice of browser is antiquated and they have no taste in technology
<!--[if lt IE 7]>
  <p class="browsehappy">You are using an <strong>outdated</strong> browser.
  Please <a href="http://browsehappy.com/">upgrade your browser</a>
  to improve your experience.</p>
<![endif]-->
Content is king.
<!-- Add your site or application content here -->
<p>Hello world! This is HTML5 Boilerplate.</p>
Bow down to almighty Google, sourcer of jQuery. Actually, you should use Google CDN (Content Delivery Network) because the visitor’s browser will likely have a cached version of jQuery from their site… and Google’s servers are probably way faster than yours anyway. So yes, bow down to Lord Google.
<script src="//ajax.googleapis.com/ajax/libs/jquery/1.10.2/jquery.min.js"></script>
<script>window.jQuery || document.write('<script src="js/vendor/jquery-1.10.2.min.js"><\/script>')</script>
<script src="js/plugins.js"></script>
<script src="js/main.js"></script>
<!-- Google Analytics: change UA-XXXXX-X to be your site's ID. -->
<script>
    (function(b,o,i,l,e,r){b.GoogleAnalyticsObject=l;b[l]||(b[l]=
    function(){(b[l].q=b[l].q||[]).push(arguments)});b[l].l=+new Date;
    e=o.createElement(i);r=o.getElementsByTagName(i)[0];
    e.src='//www.google-analytics.com/analytics.js';
    r.parentNode.insertBefore(e,r)}(window,document,'script','ga'));
    ga('create','UA-XXXXX-X');ga('send','pageview');
</script>
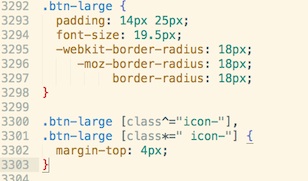
Abbreviated CSS rundown
1 2 3 4 5 6 7 8 9 10 11 12 13 14 15 16 17 18 19 20 21 22 23 24 25 26 27 28 29 30 31 32 33 34 35 36 37 38 39 40 41 42 43 44 45 46 47 48 49 50 51 52 53 54 55 56 57 58 59 60 61 62 63 64 65 66 67 68 69 70 71 72 73 74 75 76 77 78 79 80 81 82 83 84 85 86 87 88 89 90 91 92 93 94 95 96 97 98 99 100 101 102 103 104 105 106 107 108 109 110 111 112 113 114 115 116 117 118 119 120 121 122 123 124 125 126 127 128 129 130 131 132 133 134 135 136 137 138 139 140 141 142 143 144 145 146 147 148 149 150 151 152 153 154 155 156 157 158 159 160 161 162 163 164 165 166 167 168 169 170 171 172 173 174 175 176 177 178 179 180 181 182 183 184 185 186 187 188 189 190 191 192 193 194 195 196 197 198 199 200 201 202 203 204 205 206 207 208 209 210 211 212 213 214 215 216 217 218 219 220 221 222 223 224 225 226 227 228 229 230 231 232 233 234 235 236 237 238 239 240 241 242 243 244 245 246 247 248 249 250 251 252 253 254 255 256 257 258 259 260 261 262 263 264 265 266 267 268 269 270 271 272 273 274 275 276 277 278 279 280 281 282 283 284 285 286 287 288 289 290 291 292 293 294 295 296 297 298 299 300 301 302 303 304 | |
———
![]()
Friends don’t let friends float divs non-clearfixed.
.clearfix:before,
.clearfix:after {
    content: " "; /* 1 */
    display: table; /* 2 */
}

.clearfix:after {
    clear: both;
}
What are print styles? Print styles are styles for “printing”, which means the transfer of ink to “paper”. Paper is a dried, flat-sheet made from the fibrous pulp of wood, a material that hit its peak popularity at the end of the 20th century. Who prints webpages, seriously? Get a tablet, people!
@media print {
    * {
        background: transparent !important;
        color: #000 !important; /* Black prints faster: h5bp.com/s */
        box-shadow: none !important;
        text-shadow: none !important;
    }
My, what a large, shiny screen you have there! You can come over and query my media anytime…
@media only screen and (min-width: 35em) {
    /* Style adjustments for viewports that meet the condition */
}
Apologies for that last one.
A case against using HTML5 Boilerplate
 HTML5 Boilerplate ca. 2010
Will the real HTML5 boilerplate please stand up? This guy, Harry Roberts, is into minimalism and questioning assumptions, which is always good. He considers the original to be bloatware, basically.
THIS IS SPARTA!!!!’s version of HTML5 Boilerplate
1 2 3 4 5 6 7 8 9 10 11 12 13 14 15 16 17 | |
Would have resulted in a much shorter blog post from me. Ah well…
Summary
Now you know why HTML5 Boilerplate exists. It is a beacon of hope in this hostile world of way too many options for browsing. At least with the boilerplate, you have a few crowd-sourced signposts pointing the way.
I must say, front-end development has really come a long way since the good ol’ GeoCities days. So tell me, when will people stop confusing the roles of web designer and web developer?
 The Good Ol’ Days, Bless ‘er Heart
")


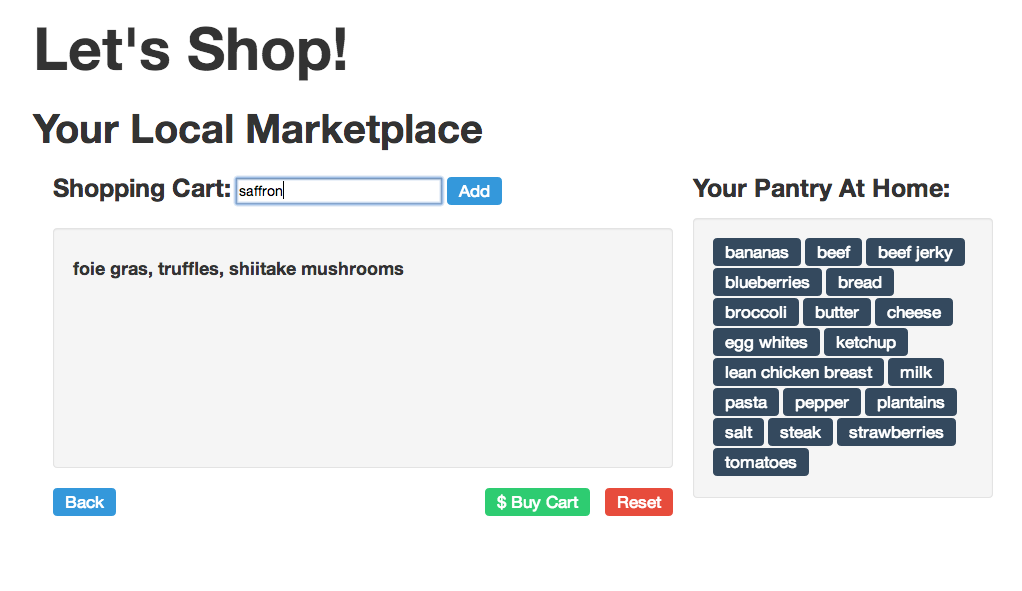
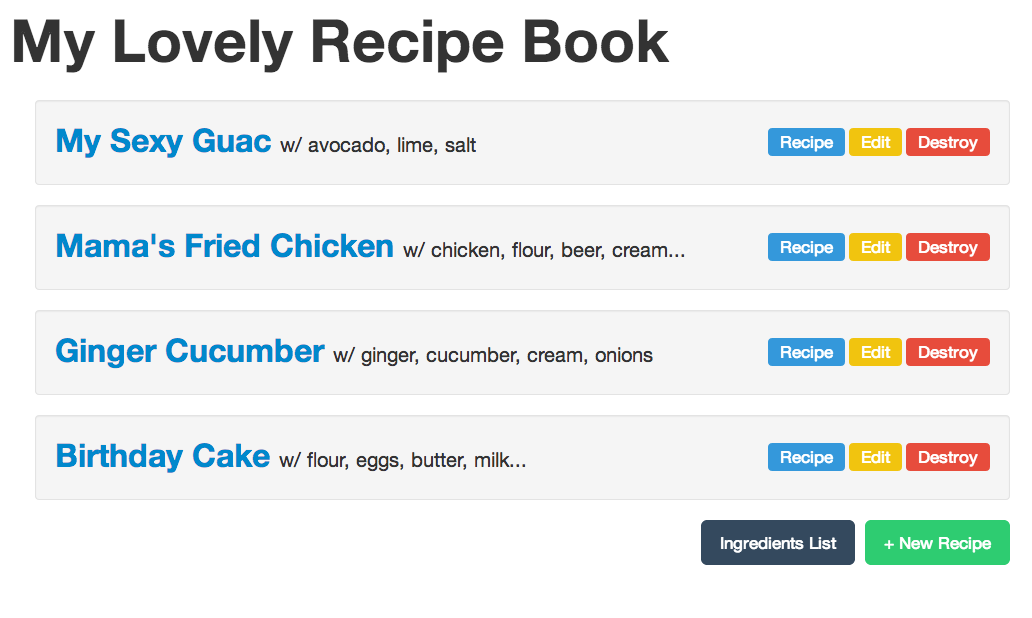
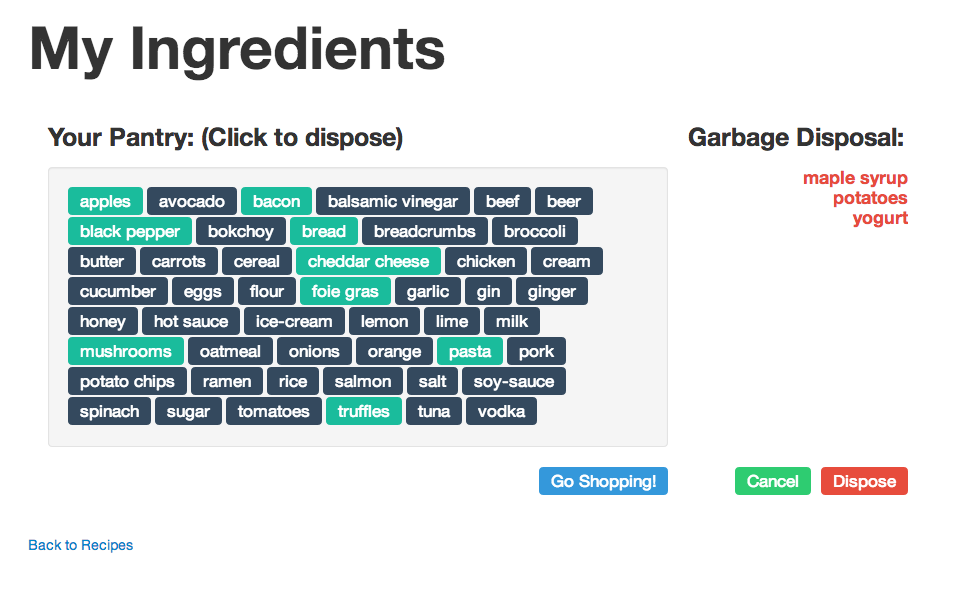 Play with the completed UI at
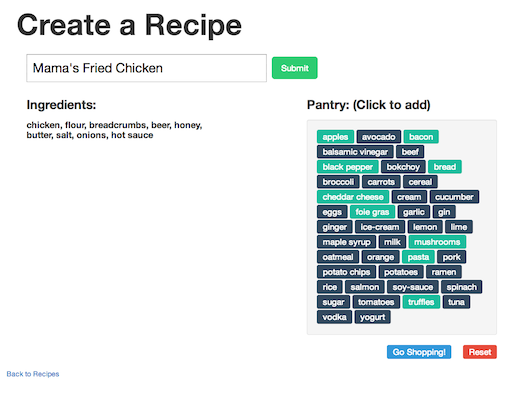


.jpg)